|
|
|
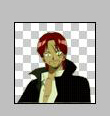
So Here we are on our Icon.
Even though you might have a perfect square Icon (though this particular icon isn’t). Your Icon is probably still too big. The standards for IGN are 80x80 pixels. There are no exceptions, if you are off by even a little bit, expect your icon to be rejected. And chances are, like ours, you aren’t a little off. You’re way off. So it is time to resize the image to get it to IGN’s standards.
This page Will actually cover two parts to the Resizing process. The actual resizing and Sharpening your icon one it is Resized.
Icon Resizing
|
|
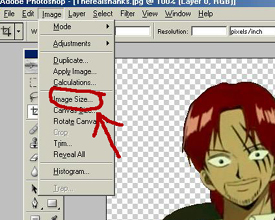
First Go to the Image Drop Down Menu. Select "Image Size" |
|
|
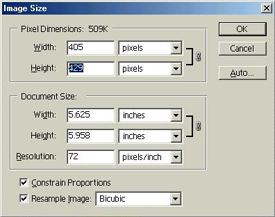
A Window Like the one on the Left should appear, allowing you to change the height or width of your image. Select whichever one is greater (if you have an image that is a perfect square either will do) and change it to 80 pixels. This should change the other one proportional to the changed value Note: The rest of this section of the Tutorial assumes that your image wasn’t a perfect square. If it was, skip the rest and go to "Sharpening your icon" |
|
|
Now one side is 80 pixels but you need both of sides to be 80 pixels |
|
|
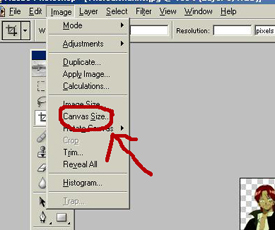
Go back to the Image Drop menu and this Time Choose "Canvas Size" |
|
|
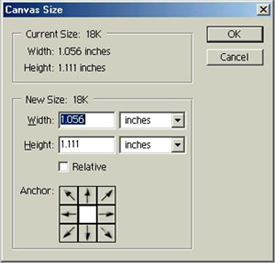
You should be greeted with the following window. Change the values from Inches to Pixels. Then Select the one that isn’t 80 pixels and change it to 80 pixels. |
|
|
You now have an icon that is 80 x 80 pixels. |
Sharpening Your Icon
|
|
Ok Looking at our icon you will notice it is blurry. This happens with icon that are from Large picture. The larger the picture the more likely it is to be blurry |
|
|
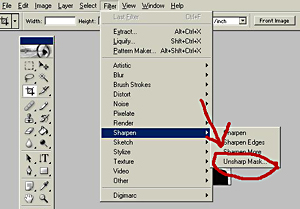
Follow the Drop Down Menus from Filter to Sharpen to Unsharpen Mask |
|
|
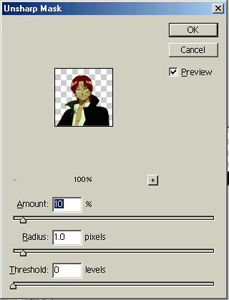
You should get this Window. Change the percent value until The image becomes clear, but be careful not to oversharpen. |
|
|
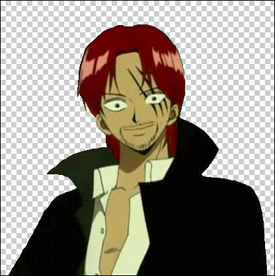
Yay. Your icon is complete. |
You have your Completed Icon. All that is left is… Well to save the icon so it is ready for IGN.
Step Four: Saving For the IGNboards