|
|
|
OK now Time to revisit our would be icon, you will notice something…
EMPTY SPACE.
That is right there is lots and lots of empty space. Empty space isn’t a bad thing. We don’t want to have our icons look cramped in their little spots. But too much empty space is a bad thing. To fix this problem we crop the image as close as we can to the actual picture so we minimize the amount of empty space.
Photoshop allows you to crop an image two ways, I like to call them Automatic and Manual. You will see why soon. How you do it really is up to you and how you want the image to look.
Method One: The Automatic Crop.
|
|
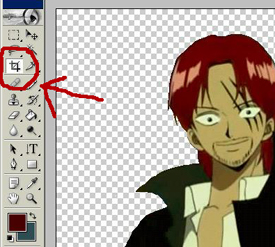
First Select the Crop tool from the Image Tools Toolbar. |
|
|
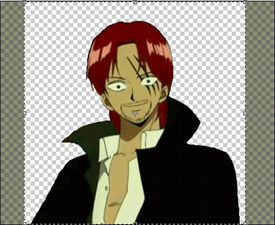
Now Pick a corner and Adjust the square so that it is around the image. You will notice that areas not in the square are darkened while areas inside are light. Make sure you have as little empty space inside the squared off Area. |
|
|
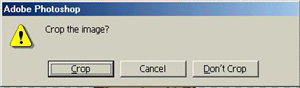
Click the Crop Tool on the Image toolbar again. This will show a window with three options. "Crop" "Cancel" and "Don’t Crop" Select the Crop Option. |
|
|
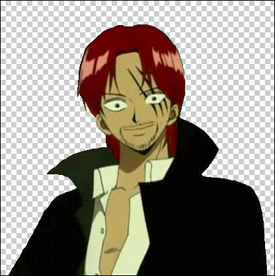
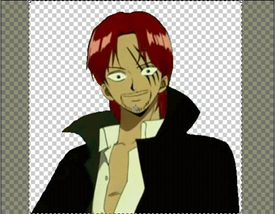
You image is now Cropped. Chances are However, like this one, It is not a perfect Square. Don’t worry. It isn’t important yet. |
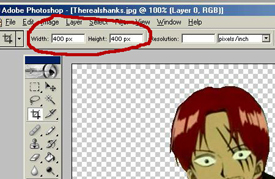
Method Two: The Manual Crop
This method has one major difference, Which might make making an icon easier in the long run.
|
|
As with the Other Method. First Simply Select the Crop Tool from the Image Toolbar. |
|
|
Now notice right below the drop menus there is a section for The height and width. Enter the pixel value (px) you wish for the height and width. *For the Purpose of Icon making it is best to set both at the same value. |
|
|
Now pick a corner. Left click and adjust the dimensions of the area. Notice how this time the dimensions remain a perfect square (this is assuming as instructed you put the same values in for both the height and width) |
|
|
With your cropping area selected go back to the Crop Tool on Image Tools Toolbar and Click it. When the Window pops up Select "crop" |
|
|
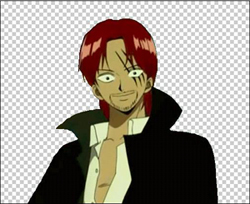
Your image in now cropped to the exact specifications you entered. Good job. |
With that complete you almost finished with your icon. Almost, but not quite.
Step Three: Resizing your Icon